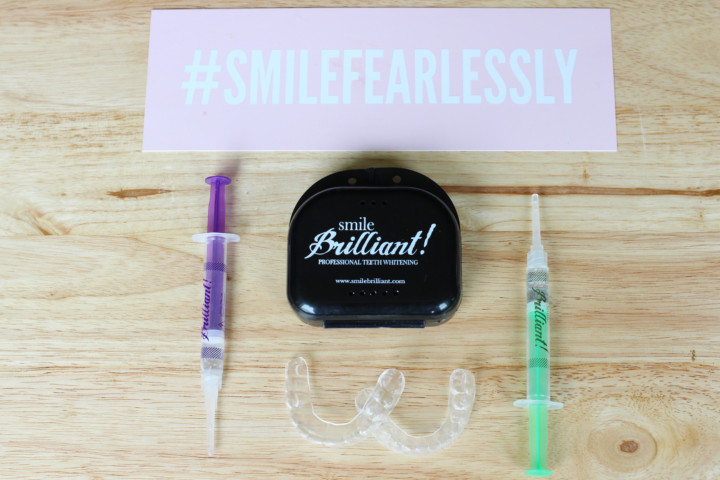
A beautiful smile has always been important to me. After having braces as an adult, I noticed that my teeth were straight, but not bright and white. I’ve been wanting to get my teeth professionally whitened in a medical setting, but the treatments have been out of my budget. Instead, I decided to try a professional at home teeth whitening system called Smile Brilliant.
After reading a few testimonials about Smile Brilliant and seeing other people on social media using their custom fitted trays, I was excited to see what results would look like for me. I liked that Smile Brilliant uses professional strength whitening solution and the solution is safe for sensitive teeth, which I have. They were kind enough to send me one of their at home whitening kits for review, and within a week I was ready to start testing out their whitening process.
Why Try Home Teeth Whitening Trays?
There are a few reasons why I decided to try home teeth whitening rather going to have then whitened in a professional setting. Here are a few of those reasons:
- Price- As I mentioned before, whitening in a dental office was out of my budget. When I looked into it, some of the prices were over $500 and Smile Brilliant retails at a fraction of that cost.
- Convenience– Instead of having to make time to whiten, I can do it in the comfort of my home while I watch TV or catch up on emails.
- The Product– I already use whitening tooth paste and mouth wash in my personal care routine, but I wanted noticeable results. After doing some research, I learned that Smile Brilliant uses a solution that is comparable to the product used in dental offices. According to their website they use a “22% Hi-Intensity Teeth Whitening Gel that is a pure blend of carbamide peroxide with no fillers or mixed blends designed to achieve the safest, fastest, most dramatic professional results in the least amount of days with the least amount of maintenance.”
Getting Started with Whitening Trays
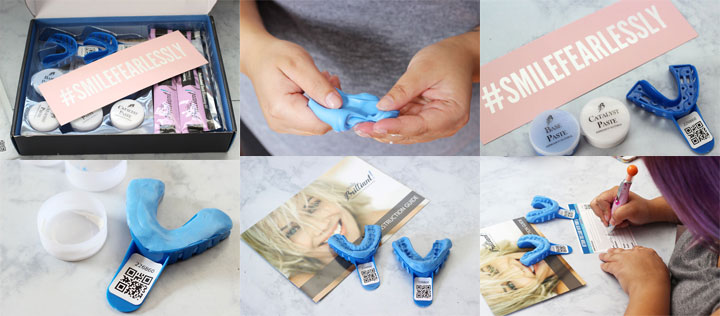
The pre-whitening process is super simple. The box Smile Brilliant sent me came with everything I needed to make my custom trays and it only took about 20 minutes to make them. The detailed instructions inside the box were very helpful because I was nervous about making my impressions. Unfortunately, I messed up a few times with my lower impression, but Smile Brilliant sent me extra putty for free until I got the hang of it.
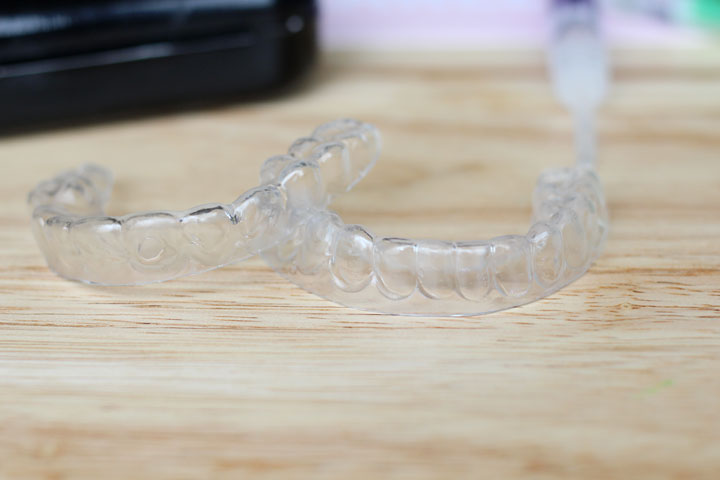
Even with me goofing up, I had my custom trays delivered to me within a week of starting the process. I was skeptical about the trays fitting properly since I wasn’t good at doing my impressions, but I’m happy to say that they fit like a glove. The trays are made of a soft material, so they feel comfortable in my mouth.
Home Teeth Whitening: How I Got Whiter Teeth at Home in One Week
For the sake of this review, I tested the Smile Brilliant kit for one week. Within that week I used the product every other day. In total I was able to complete 4 sessions within a week. I started off with a 30 minute whitening session, and worked my way up to an hour a day during the course of my week.
As far as the application process, it’s incredibly simple. All you do is apply the whitening gel to the trays and then slip them on. I wore mine while I watched TV at night, since nighttime whitening is recommended. After each session I brushed my teeth and rinsed the trays. I thoroughly dried each tray before applying the Desensitizing Gel. This gel is designed to re-mineralize teeth after whitening, so they don’t become sensitive. In my case this worked, because my teeth did not feel sensitive during my whitening process.
The only negative thing I experienced is gum sensitivity because I over loaded my trays. The instructions say to apply a thin line of the whitening gel, but I got a little crazy one day and over did it. After I removed the excess product from my gums, the irritation went away.
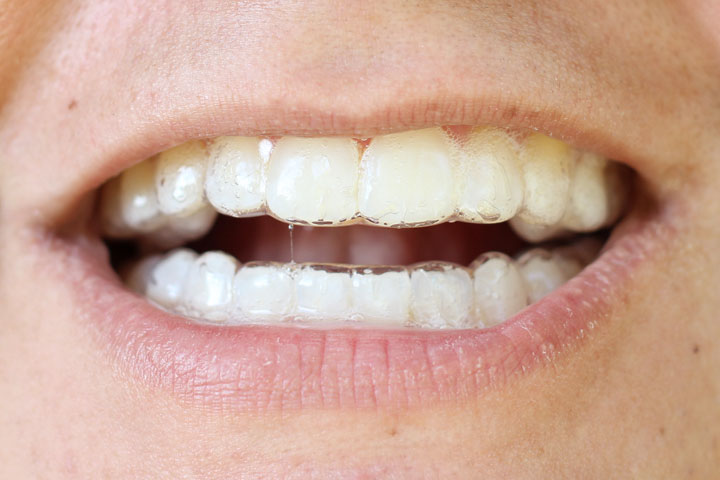
Home Teeth Whitening Results
After just one week of whitening, I was able to see noticeable results from using the Smile Brilliant whitening trays. My teeth look whiter and brighter, and I’ve only completed 4 sessions. Look at the difference!
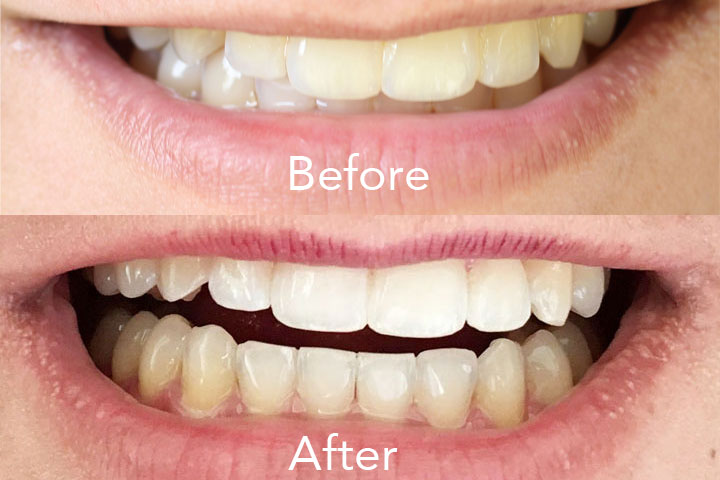
I know that if I keep using the trays, I can get my teeth even whiter. Especially since you can leave the whitening gel on your teeth for up to three hours and I’ve only gone up to an hour so far. According to the website, best results are rendered by using the product for 12 consecutive days. I’m now going to try that and see if my teeth get even whiter.

Do you want to get whiter teeth too? Enter to win a Smile Brilliant Teeth Whitening System!
If you can’t wait to start whitening, make sure to use coupon code “PrettyInPigment” to get 5% off your purchase!
What do you think of my at home teeth whitening results? Let me know in the comments below!


Looks great! Thanks for the review and the coupon.
Your teeth look great! I do like to do home whitening. I haven’t tried this one before. Thanks for such a great in-depth review.
Thank you! I hope it was helpful. 🙂
I’ve been super curious about Smile Brilliant so I’m glad to see you try it out. Your results look great!
-Bailey | http://www.hotdresshotmess.com