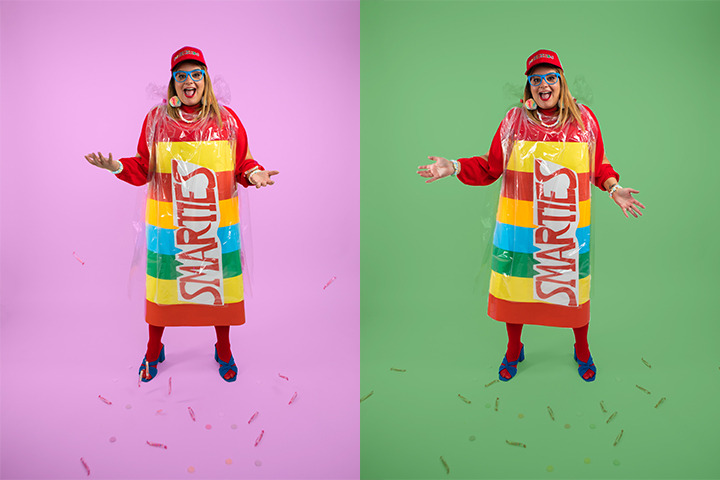
It’s been a while since I’ve worked on a DIY project. When my friends at Smarties were kind enough to send me a massive box of Smarties to create #SmartArt, I decided to unleash my creative juices to make a Halloween costume. After all, it is my favorite holiday. This year I wanted to create a costume that is just as bright and colorful as me. Nothing says Pretty In Pigment better than a DIY Smarties costume, so I spent a Sunday afternoon cranking out a creative costume.
I had so much fun creating my DIY Smarties Costume that I decided to create a tutorial in case you’d like to make one too! There are many ways you could approach making this costume, so feel free to use this as a general guide and add your own flair to the project. In my case, I wanted to create an inexpensive costume that requires little materials and sewing. While I know how to sew, I wanted this to be a Sunday Funday project that could be completed in a few hours. However, I could totally see this costume made with fabric for longer lasting results.
Cover image photography by Sam Evans of Lockstock Photography
DIY Smarties Costume
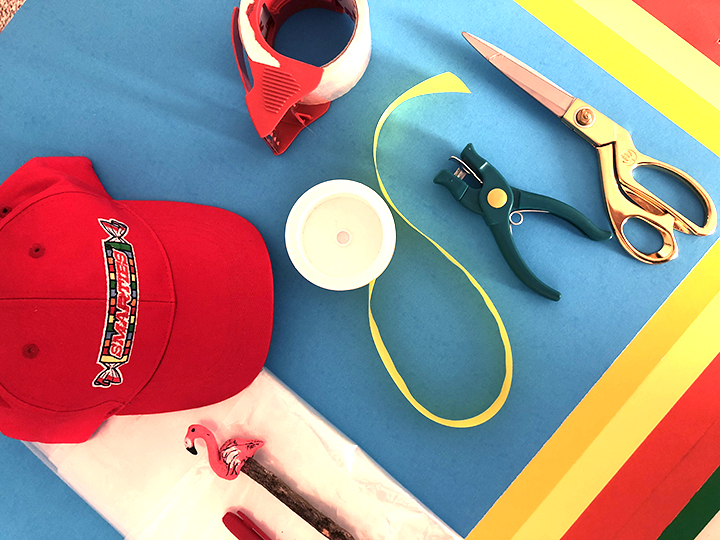
Materials
- Poster board ( I used one sheet of blue, green, orange, yellow and white. 2 sheets of red. This may vary depending on the size of your costume)
- Ribbon
- Shipping tape
- Red tape
- Scissors
- Hole punch
- Red marker (or any color really)
- Pencil
- Glue
- Measuring tape
- Clear trash bag
How to make a DIY Smarties Costume
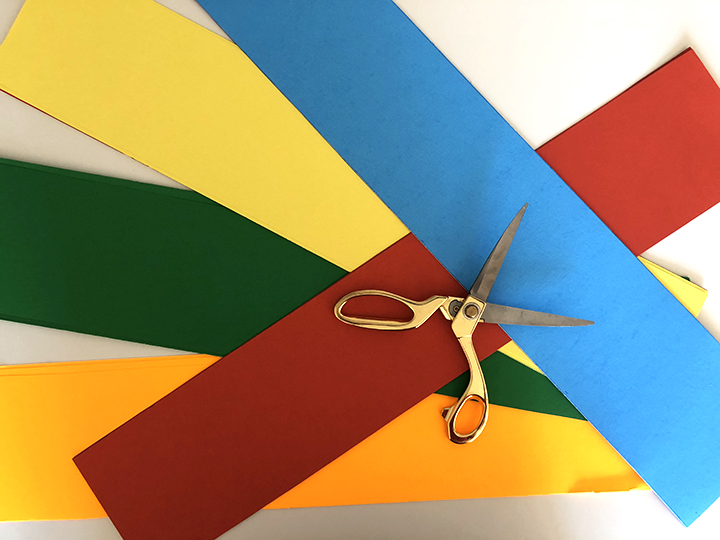
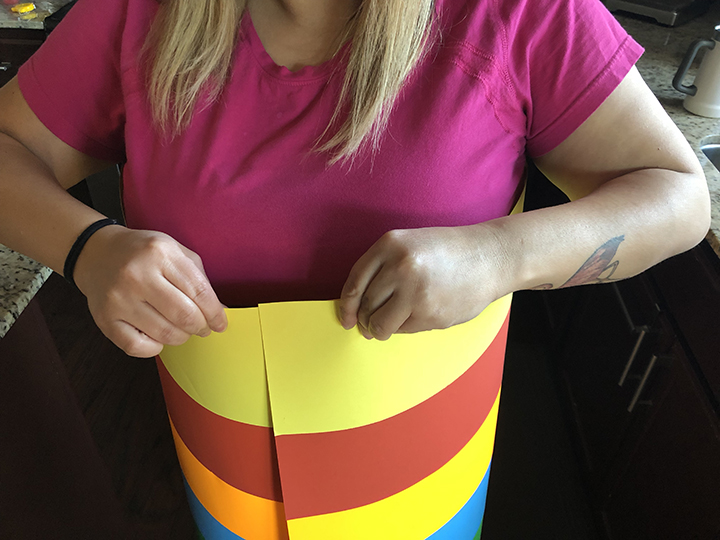
The first step is to figure out how many stripes you want to make. I’m short, so I was a “fun sized” smarties candy roll. I measured each sheet of paper and cut my stripes to be 4 1/2 inches tall and 22 inches long (the length of the paper). Once you figure out how many strips you’ll need, start cutting the paper strips.
Next, you’ll want to create a GIANT sheet of striped paper by using shipping tape to attach the stripes to each other. I ended up making two sheets to fit around my body.
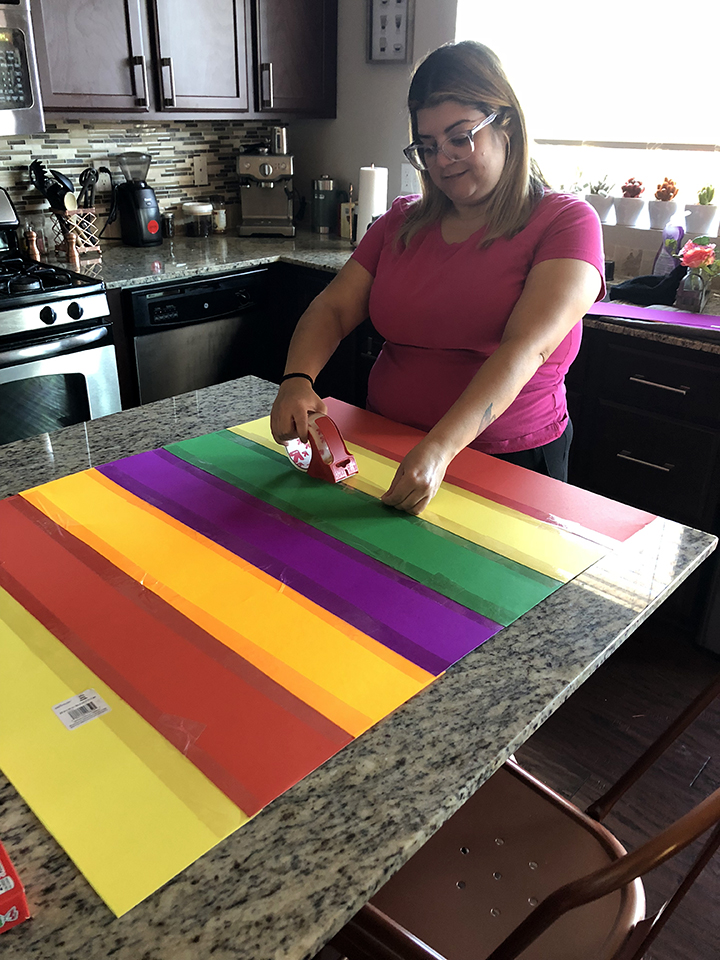

The next step is attaching the sheets with tape to make a really BIG piece of paper. Then, you’ll want to measure it around your body to create a tube. Make sure to make the tube wide enough so you can slip the costume on and off over your head, and so that you can walk in it. Once you’ve got the measurements down, tape the paper together to create the smarties candy roll AKA a giant paper tube.
Now, it’s time to create the Smarties logo. Start off by cutting out a piece of white paper in a rectangular shape with angled sides (reference the logo to see the shape).
The next step may take a few tries, so make sure to use a pencil. Start drawing out the letters of the Smarties logo on a piece of red paper. It’s important to keep the size of the white paper in mind as you draw out your letters since you’ll be mounting them to the paper.
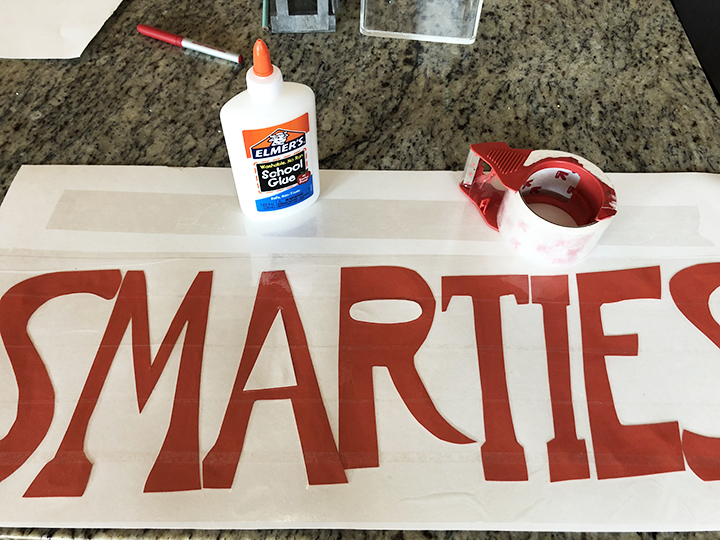
Once you’ve got your letters drawn out, carefully cut them out and place them on the white paper. Arrange the letters until they fit and then glue them to the paper.
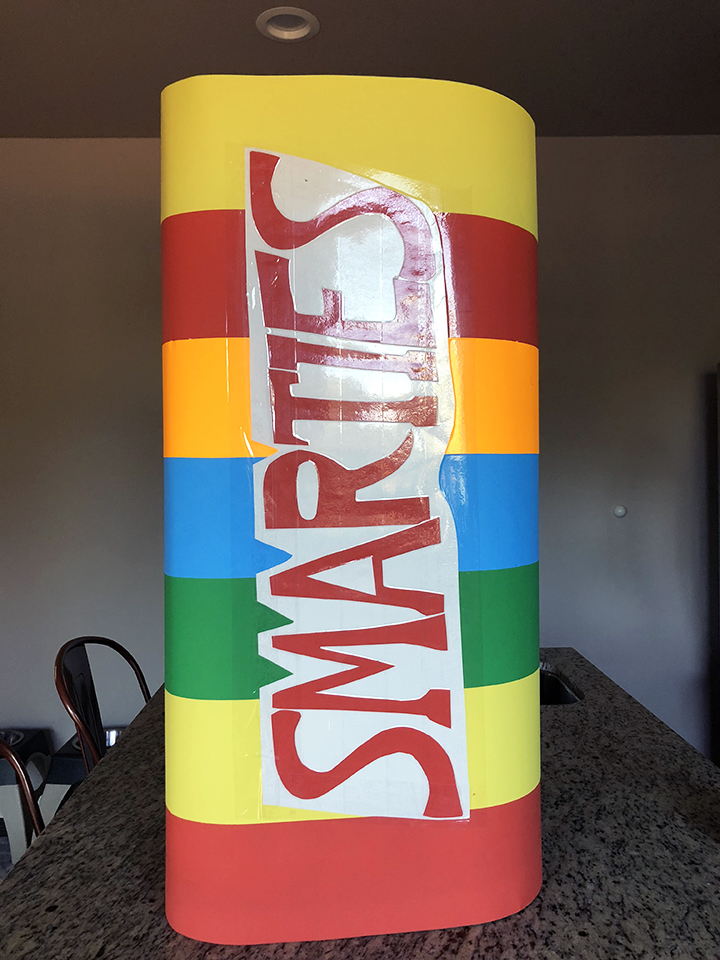
Now you’ll want to attach the logo to the “candy tube” of your costume. I placed shipping tape on the backside of the logo and placed it on my costume, then finished by neatly taping the entire front side of the logo onto the costume to secure it in place.
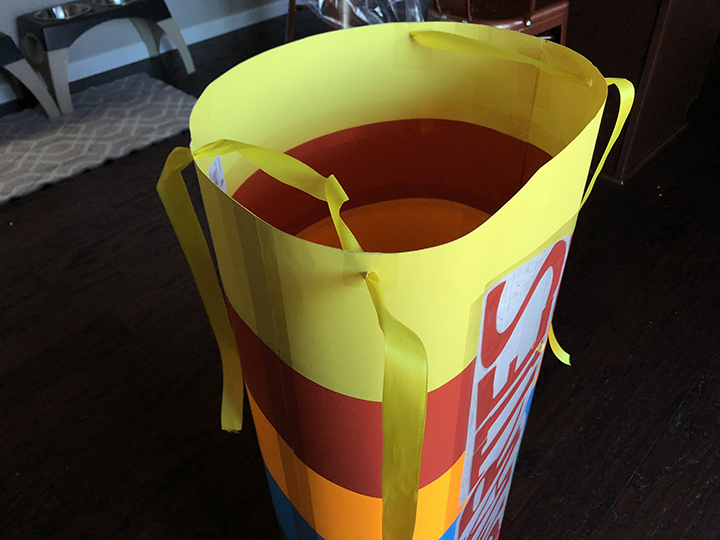
Moving on, it’s time to create the straps. I used a hole punch to make two holes in the front of my costume and two in the back. I then strung the ribbon through the holes and had my husband help me to adjust the straps to my body.
The final step is making the wrapper. I used my fashion school drop out experience (fun fact: I was accepted into Parsons for fashion design many moons ago) for this one and basically cut out a neck hole and arm holes into the garbage bag. It helps if you fold the bag in half, with the opening to the bottom. At the top (where the seam is) cut a half moon for your neck. Then at the sides, cut a half circle for your arms. I gathered the excess plastic at the top of my sleeves and wrapped each side with red tape to create my puffy wrapper sleeves. Again, this part may take a few tries, just have fun with it and add your own touch to it.
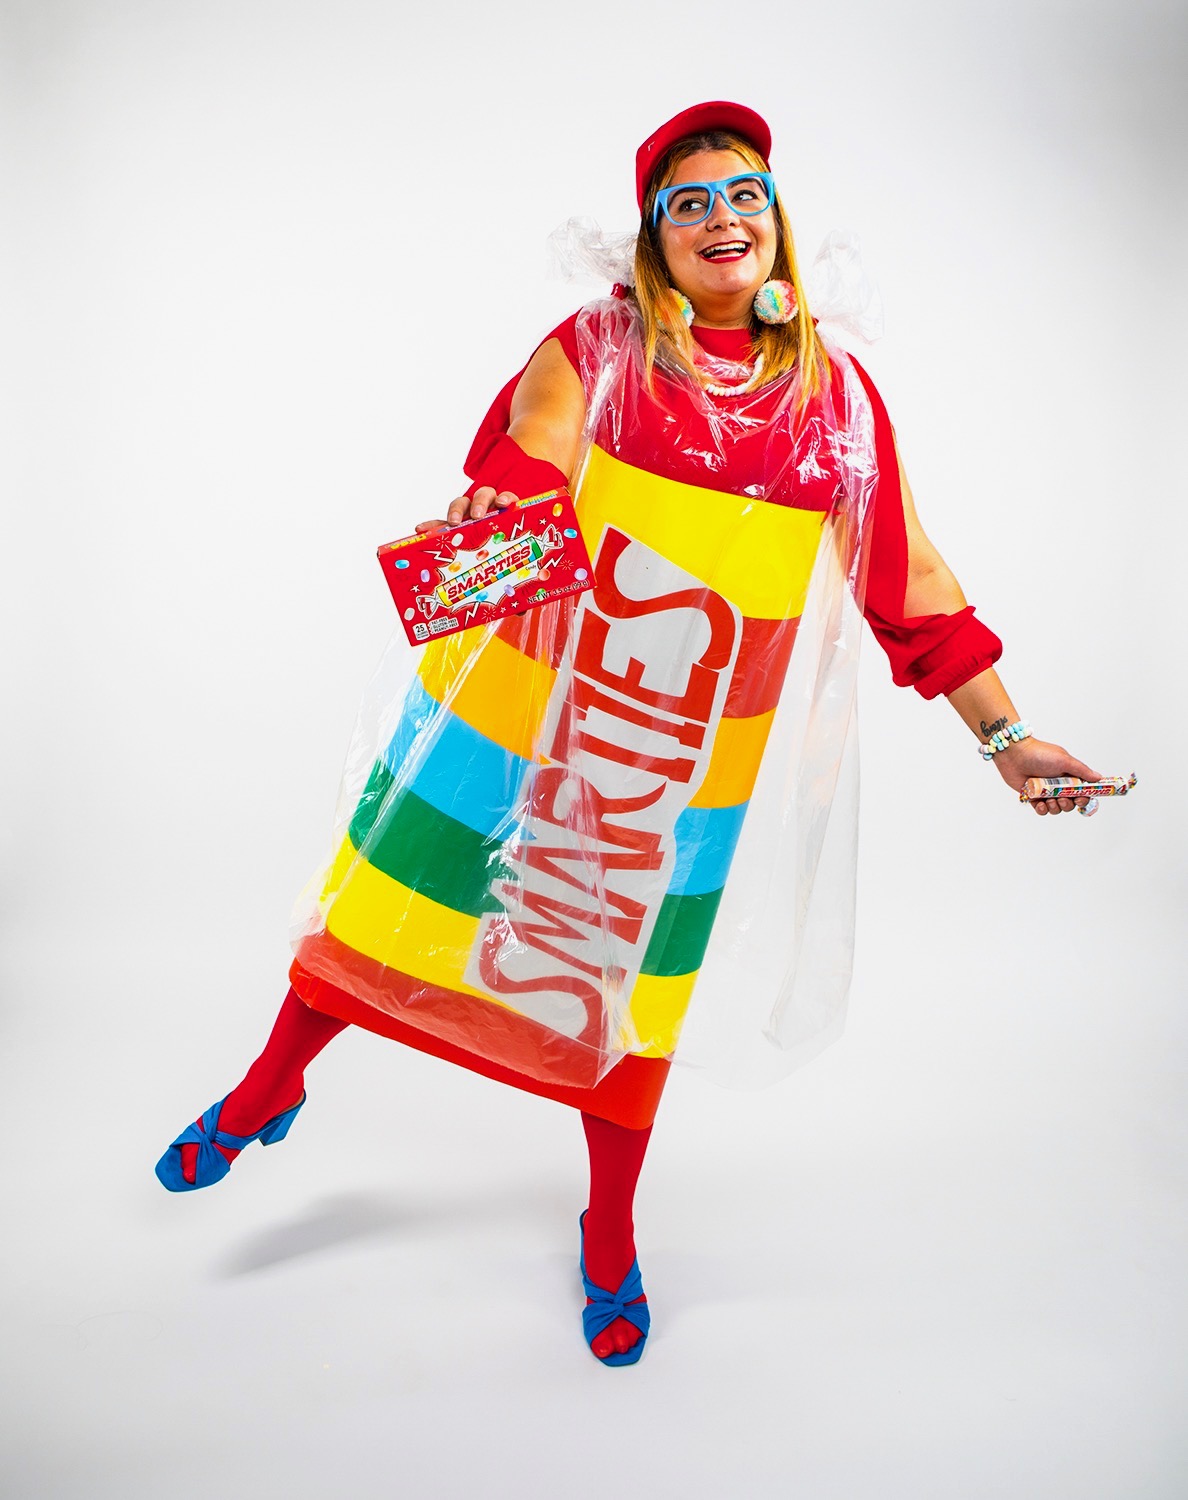
Photo by Sam Evans of Lockstock Photography
And there you have it, a DIY Smarties Costume! Feel free to accessorize the look however you’d like. I decided to add some colorful touches with my red Smarties hat and blue glasses.


Leave a Reply