This shop has been compensated by Collective Bias, Inc. and its advertiser. All opinions are mine alone.
#MNYLooksToLove #CollectiveBias
My friends always come to me with their makeup questions and I’m always happy to let them pick my beauty brains. There is one trend that I’ve been asked about dozens of times, and that is contouring and it’s BFF highlighting.
Everyone wants to look and feel their best and after seeing celebrities with sculpted faces, average gals want to follow suit too. Except, the average woman doesn’t have a beauty squad trailing behind her or 25 minutes to sculpt their face to perfection everyday. Since it requires more steps and products, it’s a technique that makes some women feel intimidated.
Well, I’m happy to let you know that it doesn’t have to be that complicated! Contouring and highlighting doesn’t require a PhD and it also doesn’t have to take more than a couple of minutes. You also don’t need a ton of products or a makeup artist BFF to add a healthy dose dimension to your pretty face.
Contouring and highlighting 101
Lets start with the basics– contouring and highlighting is makeup technique that enhances different features of the face.
Contouring- Contouring is the art of creating a shadow that adds depth to the face, usually achieved with a matte product that is a few shades darker than your skin color. By “pushing back” an area, lets say the hollows of your cheeks, you are creating the illusion that other features, in this case cheek bones are closer to the front.
Areas on the face that are typically contoured:
- Top of the forehead
- Side of the forehead
- Sides of the nose
- Hollow of the cheeks
- Jawline
Highlighting- When you highlight (aka Strobing), you are accentuating certain areas of your face to bring those features forward. This is achieved by using a shimmery product to attract more light to the area and bring the feature further forward.
Areas that are typically highlighted:
- Above the brow
- Brow bones
- Bridge of the nose
- Cheek bones
- Cupid’s bow
- Chin
Contouring and highlighting guide
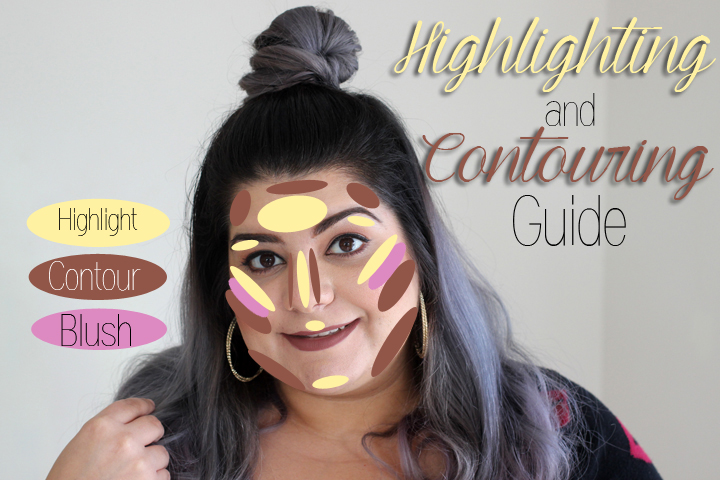
The above image demonstrates the places on the face that can be highlighted and contoured. While some women may choose to highlight and contour all areas of their face, and some opt to only do certain areas. Full face contouring can appear heavy and overdone, and is ideal for special events, like a strut down the catwalk or a special event. Personally, on daily basis I only contour my cheeks, but I highlight all of the highlight all of the high points of my face. It’s best to experiment and find what works best for you!
Contouring and Highlighting Products
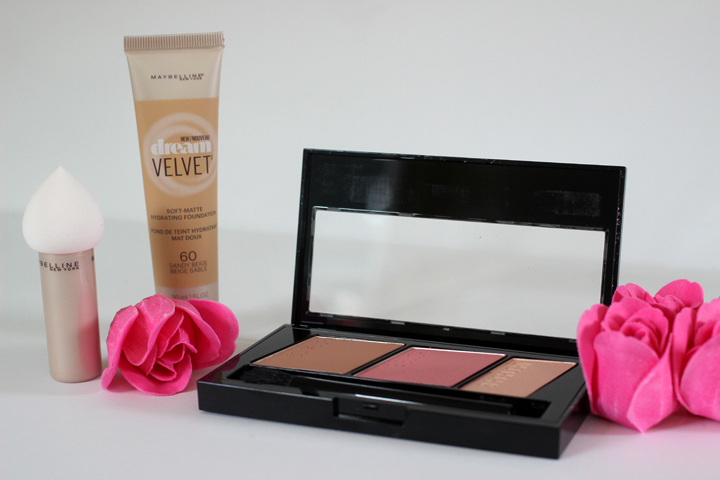
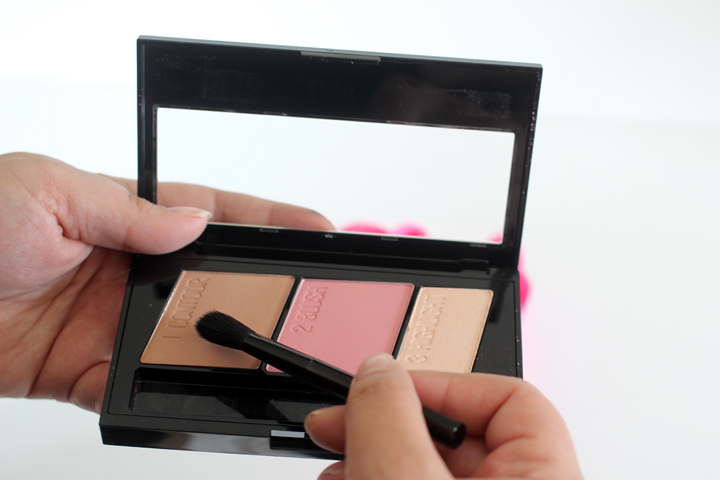
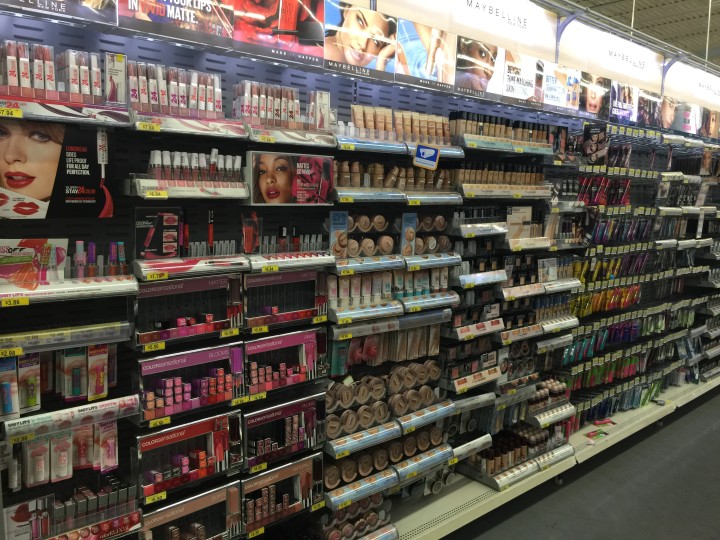
Gone are the days that you have to have a makeup bag full of products to sculpt your face. Maybelline made highlighting and contouring simple with their Master Contour Palette. I picked up this palette on a trip to Walmart when I was helping a friend find the right products for sculpting. The all-in-one palette (which also includes a contouring brush) makes it easy to master contouring in no time!
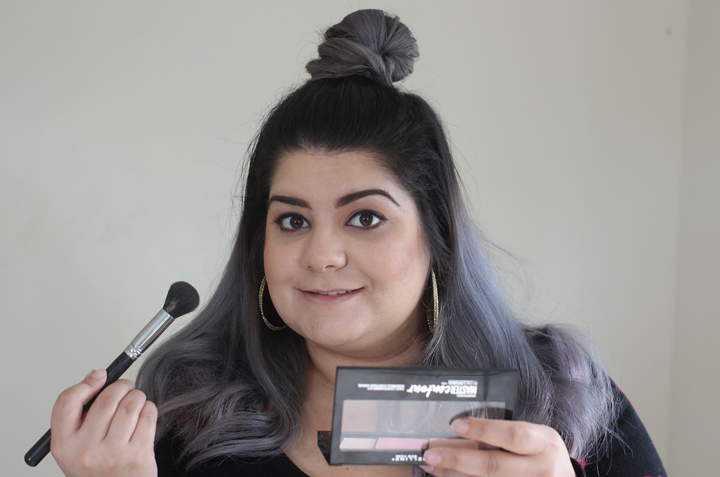
Highlighting And Contouring In Under 5 Minutes
Are you ready to highlight and contour your face with the Maybelline Master Contour Palette in a New York minute? Ok, maybe not a minute but set your timer to 5 minutes and lets get started!
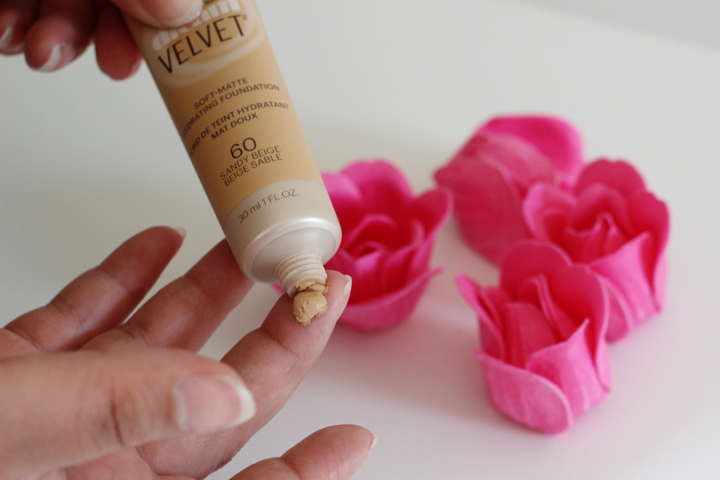
1. Apply Foundation- Using the Maybelline Dream Velvet™ foundation that matches your skin tone, apply a few drops to your face. I like this foundation because it has medium coverage in a gel-whipped formula that leaves complexion perfected and smooth with a velvety, soft-matte finish. It also stays hydrated for 12 hours and is ideal for normal to combination skin. For best results, apply the Maybelline Dream Velvet™ Foundation using the Maybelline Dream Blender. This is a must-have tool for a flawless makeup application and is also reusable. When applying the foundation, pounce the sponge all over your face for a smooth finish.
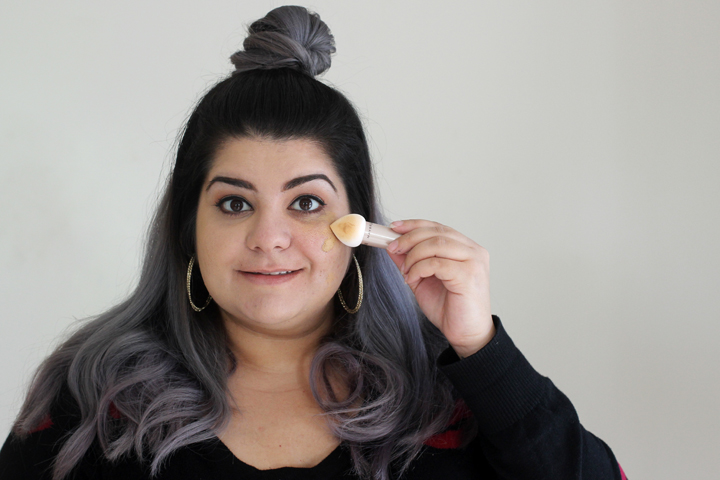
2. Contour- Using a contouring brush, contour all of the areas of your face that you would like to add structure to. Gradually build the product on your face and make sure to blend it into your skin for a subtle appearance. You NEVER want to leave harsh or noticeable lines. Use a fluffy brush to help blur any lines.
Pro Tip: To find your cheek bone, gently dig your thumbs into the hollows of your face, you will be able to feel them. You can also place a makeup brush a the top of your ear and angle it to the outer corner of your lip to find your natural cheek bone.
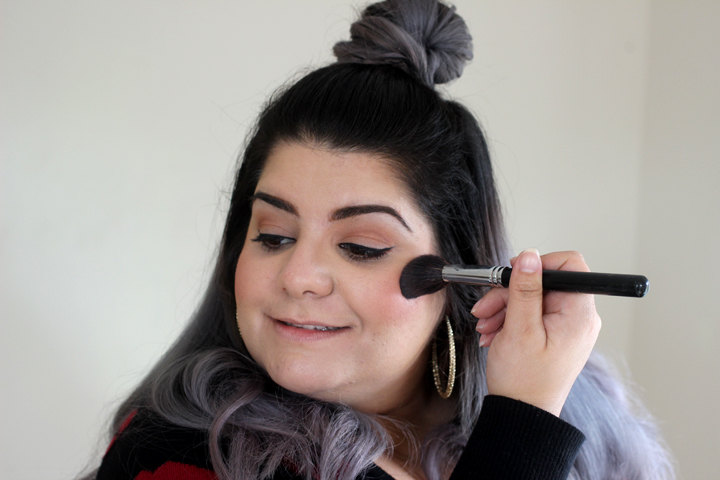
3. Apply blush- To add a little color to your face, apply blush to the apples of your cheeks and sweep the product towards the side of your face. Make sure that the transition between your blush and contour is seamless.
Pro Tip: Has anyone ever told you to smile when applying blush? Don’t do that! That bring your cheeks up and can cause you to apply your blush too low.
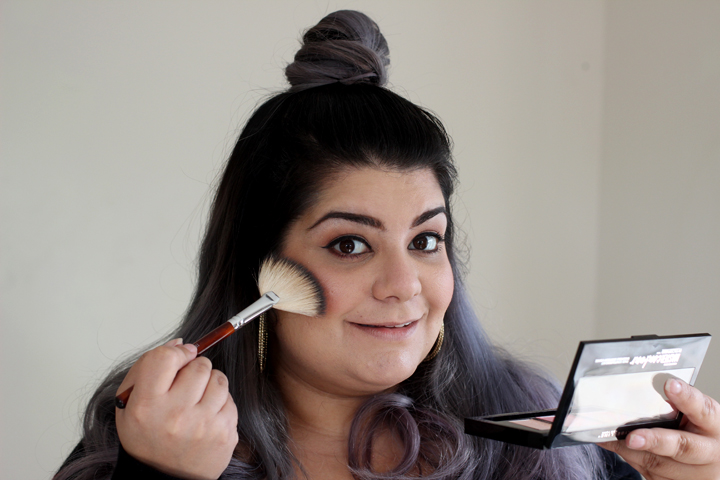
4. Highlight- Using a fan brush, gently highlight your face. I recommend using a fan brush since it allows you to apply sheer layers product. Highlighting is a wonderful technique that helps to give a youthful appearance, but make sure that you don’t over do it because you don’t want to look like a disco ball.
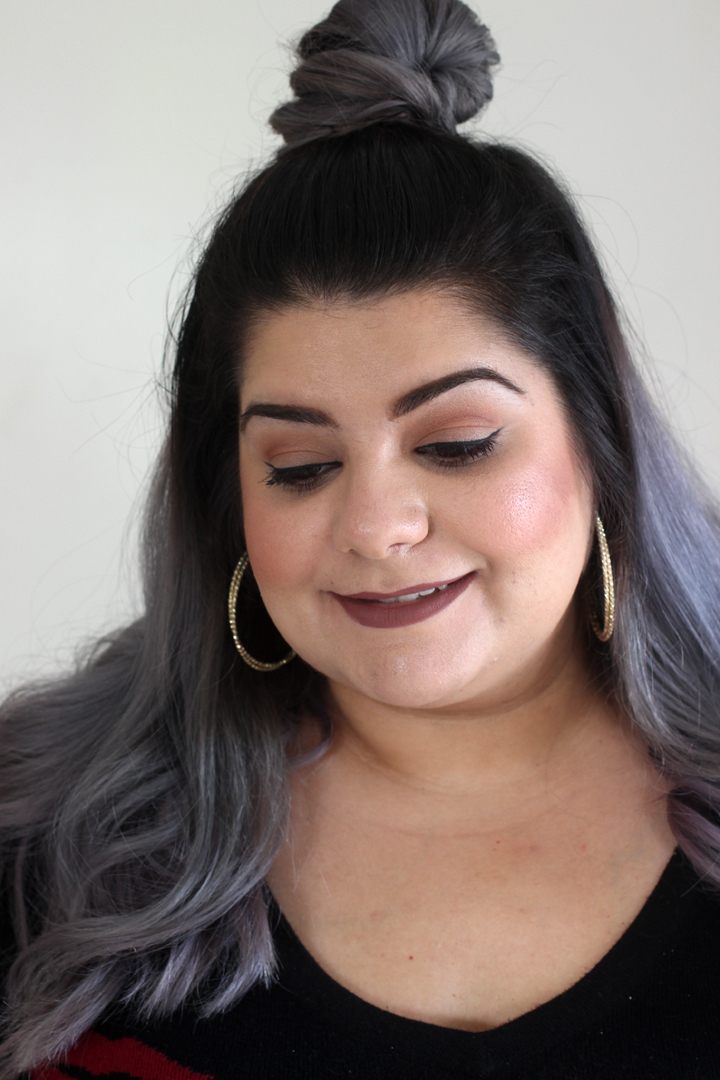
Guess what? You’ve just learned to highlight and contour in under 5 minutes!?!? Now it’s time to take a selfie!
Highlighting and contouring is makeup look to love! Have you tried tried the Maybelline Master Contour Palette to achieve this look?


Leave a Reply