
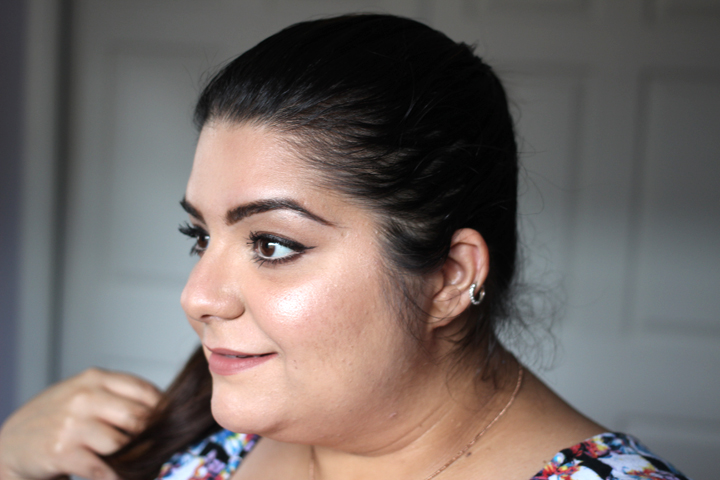
Just when you finally mastered the art of contouring, the beauty Gods have called to say to take a makeup wipe to your chiseled cheekbones because there is a new trend in town. The new gal to hit the pavement is all about illuminating to the face and bringing your features forward. This bright babe can easily be called the anti-contour. Yes, I’m talking about strobing.
The reality is that beauty trends come and go, and while contouring is starting to fizzle (I personally don’t see it disappearing any time soon), strobing is taking the spotlight.
So what’s this strobing thing anyways? Basically, it’s a highlighting technique used to sculpt the face by bring your features forward. It’s not necessarily a groundbreaking beauty trend, but rather a fancy name for highlighting, an age-old makeup technique. Highlighting products are applied on the areas that the sun would naturally grace your face, to give you the ultimate Instagram-worthy glow.
The best thing about strobing is that it’s actually a pretty simple technique that any beauty lover can achieve. I still can’t believe I’m saying this, but I learned a lot about this beauty craze from celebrity makeup artist Mario Dedivanovic while I interviewed him backstage at the Frankie’s bikinis show in July. I watched Mario strobe the faces of the models (you can watch the video here) and the good news is that this trend is much easier to achieve than contouring.
The Real Gal’s Guide to Strobing
Step 1: Foundation
Start by applying a luminous liquid foundation to your face, which will give you a gentle all over glow. If you don’t have a foundation that already does this, add a few Luminizing Drops to your foundation. Or, you can also use a dab of a moisturizer mixed into your foundation, which is what I did.
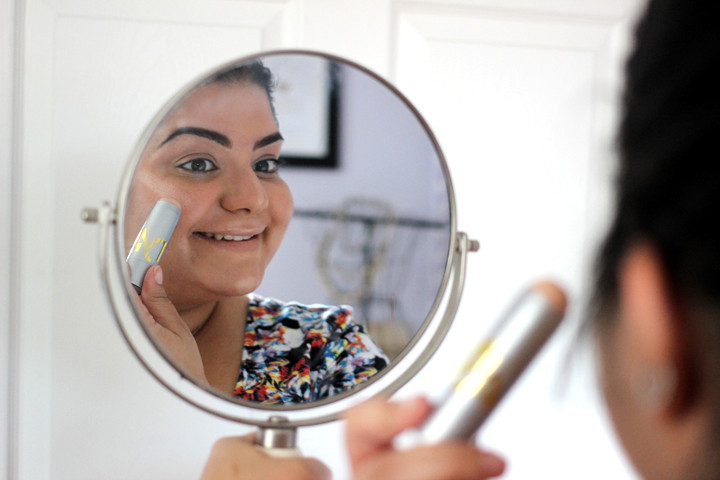
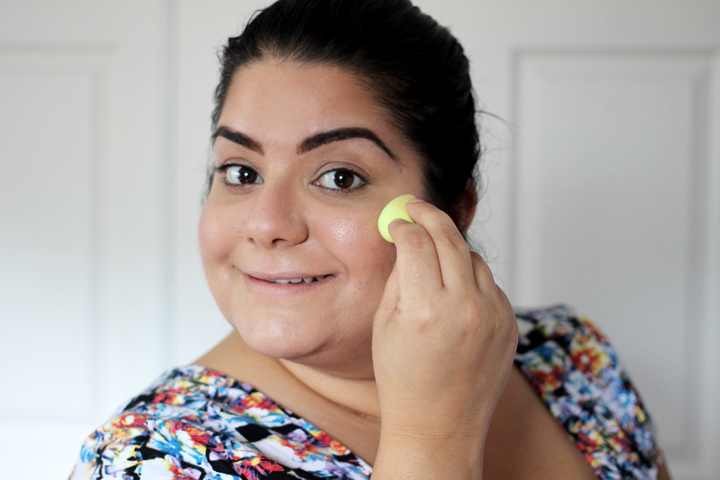
Step 2: Add your glow
Apply a cream highlighter (I’m loving the Tyra Banks Light In a Stick Highlighter because it’s so easy to use) to the places that the sun would naturally hit your face, which include: cheekbones, bridge of the nose, brow bone, above the brows (skip this step if you oily), chin, and your cupid’s bow. Always start your strobe with a cream because this will act as the base for your next step. When applying a cream highlighter, I like to use my Beauty Blender Micro Mini to get to apply the product. It’s just the right size yo for all of the highlighting areas of my face.
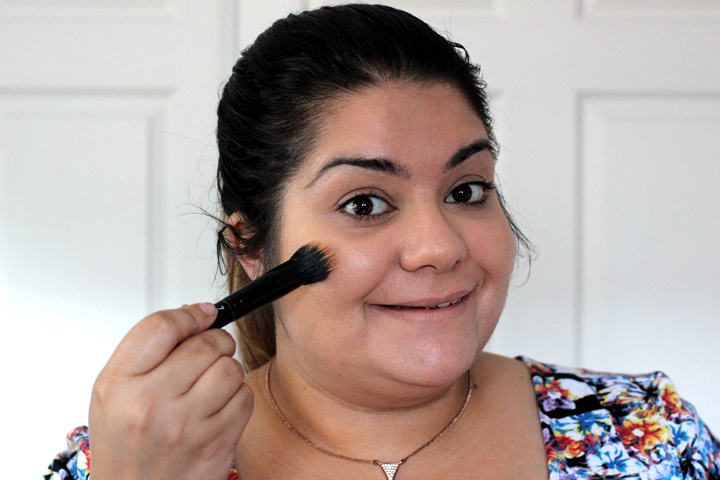
Step 3: Intensify your glow
Give your glow the “wow” factor by applying a powder highlighter over your cream highlighter to set it in place and give it an added glow. I would suggest starting off with a fluffy brush for your initial application. Then, go back with a more defined brush on the areas that you really want to pop, such as your cheekbones and Cupid’s bow.
Tip: You can adjust your strobe, depending on the occasion. For daily use, a gentle strobe is enough to give you a youthful glow. If you are going out at night, you can crank up the volume on your strobe, especially when it comes to your powder highlighter application.
Optional: Skin-kissed touch
Technically, when you strobe, you don’t need to add a bronzer or a contouring shade to your face. This step is totally optional, but I like to give my face a skin-kissed look, especially during the summer. I personally like to lightly apply a matte bronzer under my check bones to give my highlight some extra definition. Especially since I have a round face.
What do you think of strobing? Will you ditch contouring for this technique?


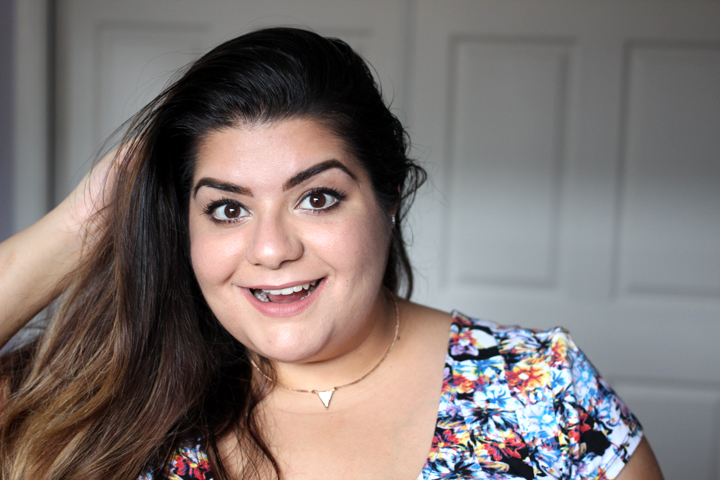
So pretty!