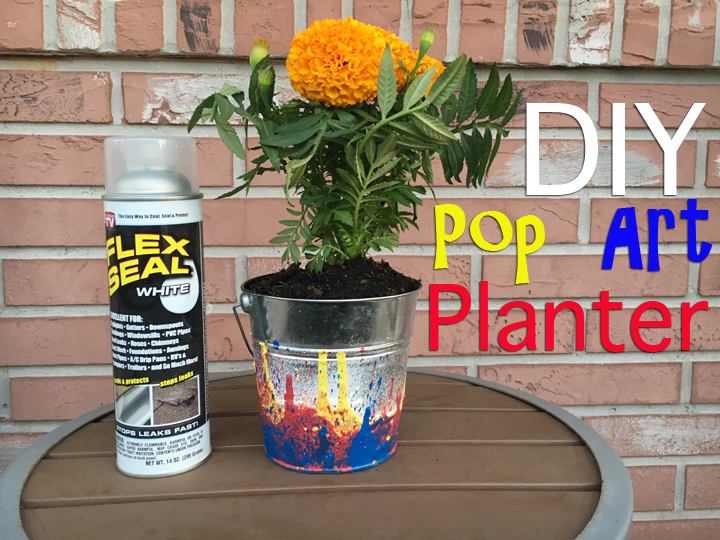
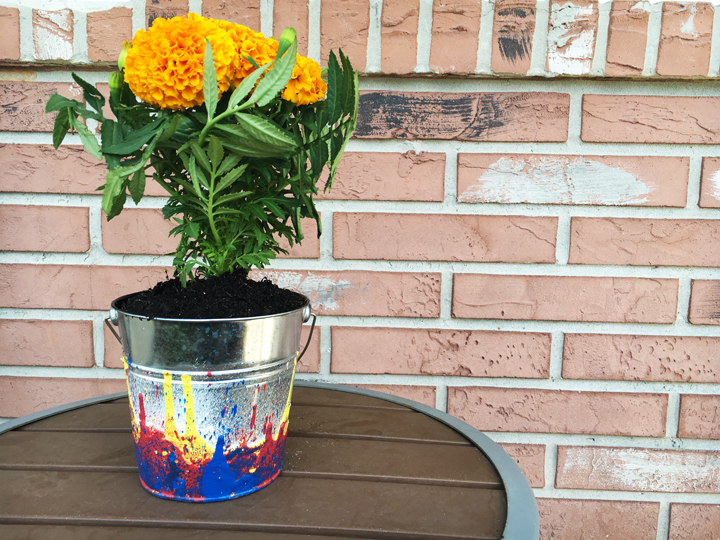
Now that spring has sprung, I have been spending more time outside working on my yard. I’m all about incorporating art into all of the spaces in my home, including my outdoor spaces. Instead of using a regular planter for my flowers on my entry table, I decided to go for color by creating a DIY Pop Art Planter.
The fun thing about this project is that I used Flex Seal to do this project. I’m sure you’ve seen flex seal on TV as product used to fix leaks, but you don’t often hear of ways to use it for crafting. While it’s great to fix leaks (I Flex Sealed my leaking watering canister), it’s awesome for crafting too. The liquid rubber worked great for this DIY and I’m looking forward to playing with it more to create future DIYs!
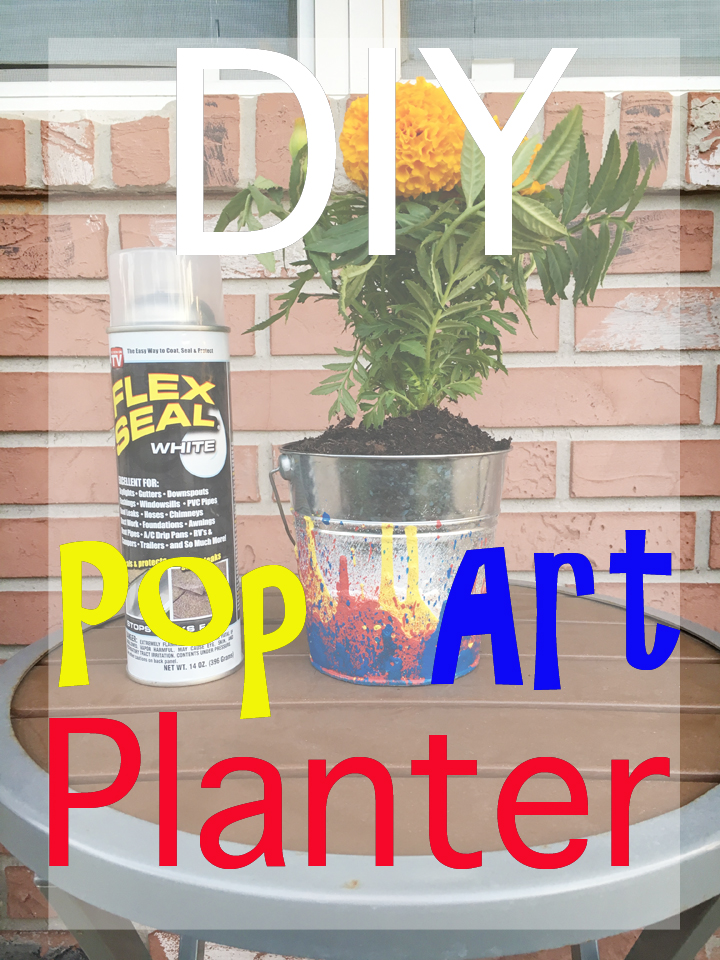
DIY Pop Art Planter
Supplies Needs:
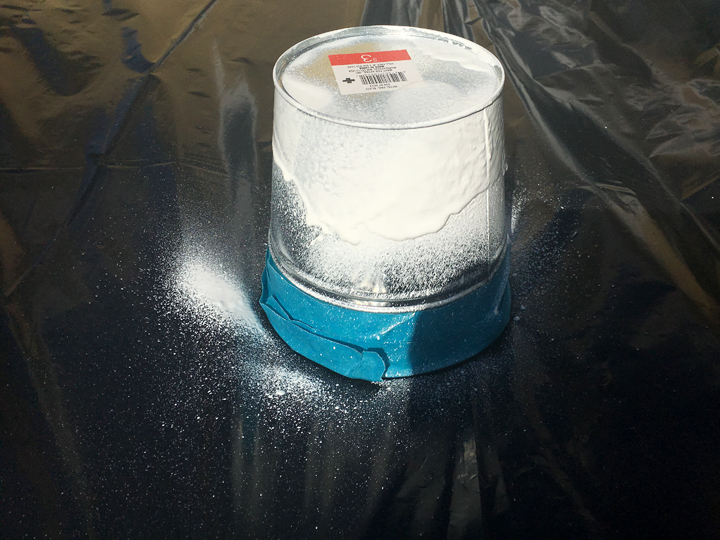
- Flex Seal Colors (as many colors as you would like to layer. I used white, yellow, red, and blue.)
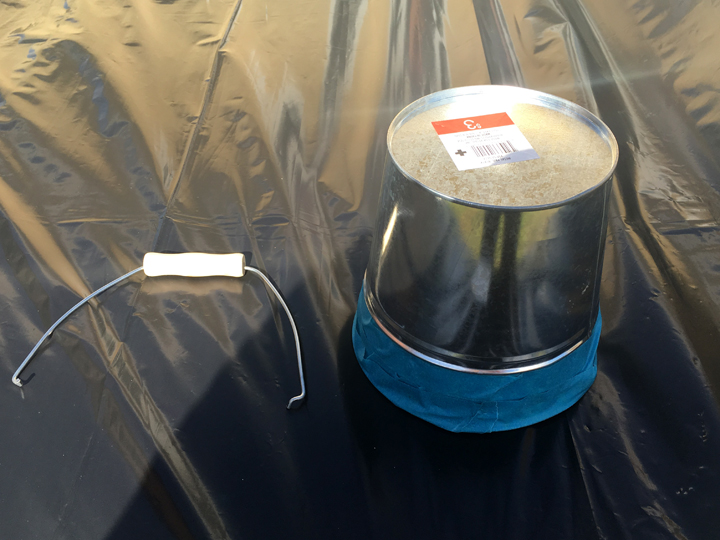
- Planter or metal pail ( I got my pail at Target in the dollar section)
- Work space covering
- Painter’s Tape
DIY Pop Art Planter Instructions:
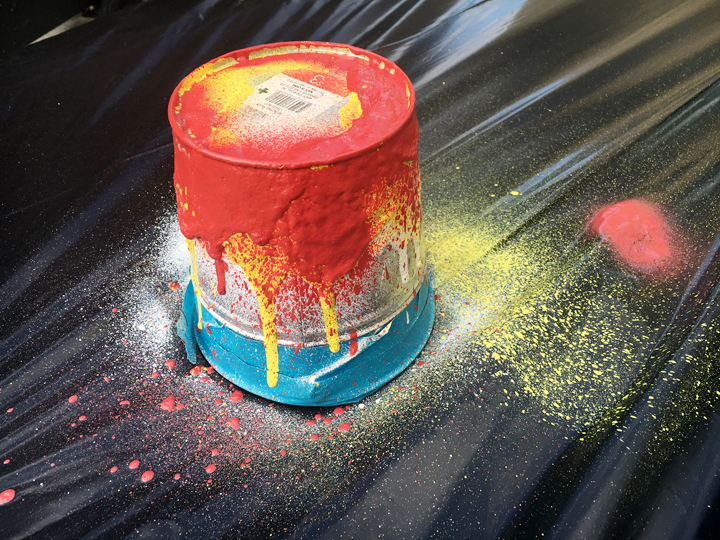
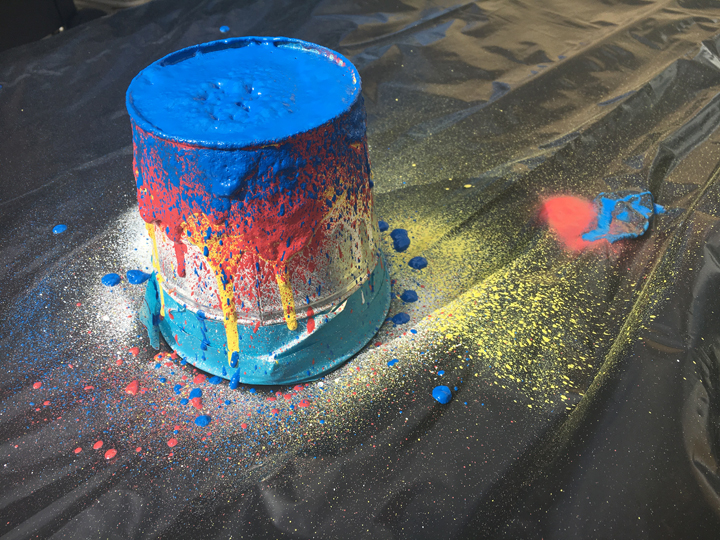
- In a well ventilated space, use a covering to protect your work space and place you planter on the covering. Use Painter’s Tape to protect any areas on your planter that you would like to avoid from painting.
 2. Apply the first layer of color by spraying the planter with Flex Seal at a distance of about 6 inches. The idea is to create drips of paint on your planter. Allow each layer to fully dry before repeating this step with additional colors.
 3. Once all of the layers of paint are fully dry, remove your tape and plant your flowers in the planter!


Leave a Reply