This shop has been compensated by Collective Bias, Inc. and its advertiser. All opinions are mine alone. #SallyStrong #CollectiveBias
As a fashionista, I’m all about incorporating all of the latest trends into my style. This season it’s all about the pom poms. From pom pom sandals, to pom pom jewelry, these colorful puffs from the ’90s are back in a big way. Personally, I love these nostalgic magical puffs, so I created a DIY Nail Art look using pom poms for a party that I attend.
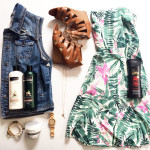
The idea to create a pom pom nail design came to me while I was doing a little shopping at Target. After picking up a cute dress for my party, I strolled though the beauty isles tofind my finishing touches. Naturally, pom pom nails just felt like the icing to complete my ’90s inspired party look.
I figured some of my readers would love to re-create this look, so I created an easy tutorial on how you can join in on the pom pom DIY nail art frenzy!
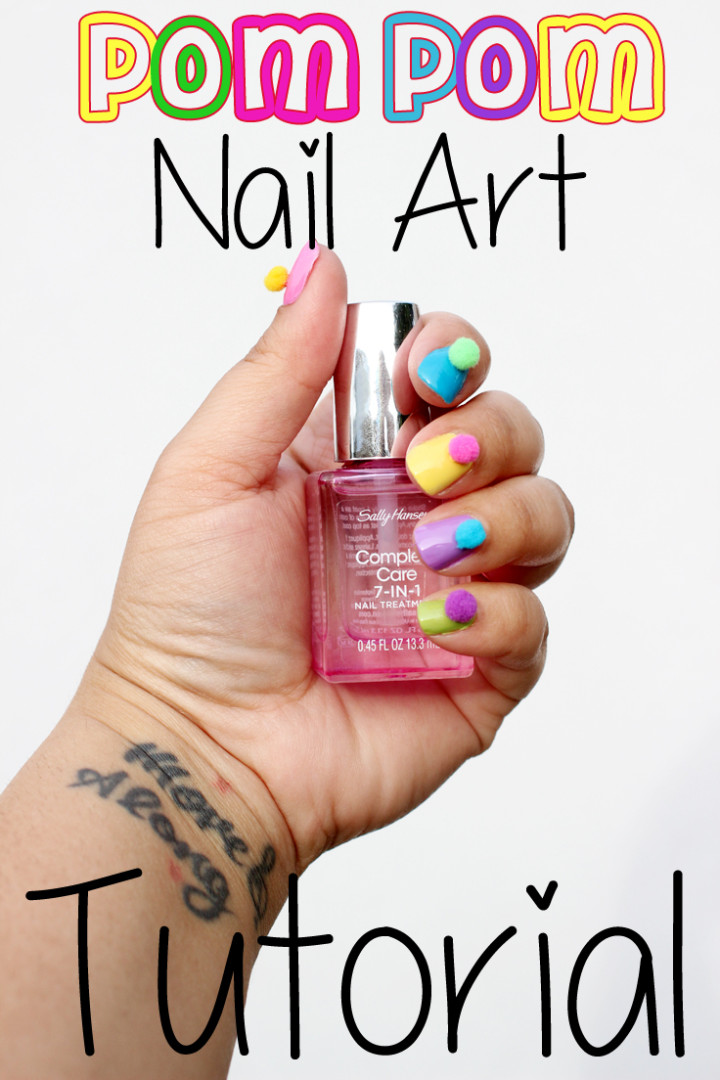
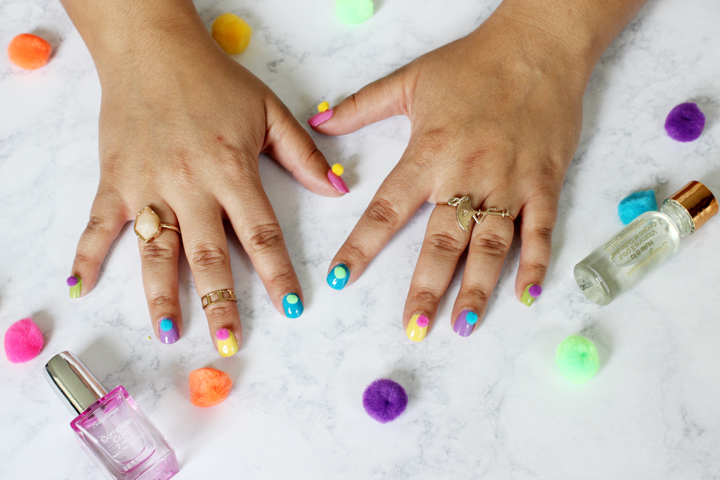
DIY Nail Art: Pom Pom Nails
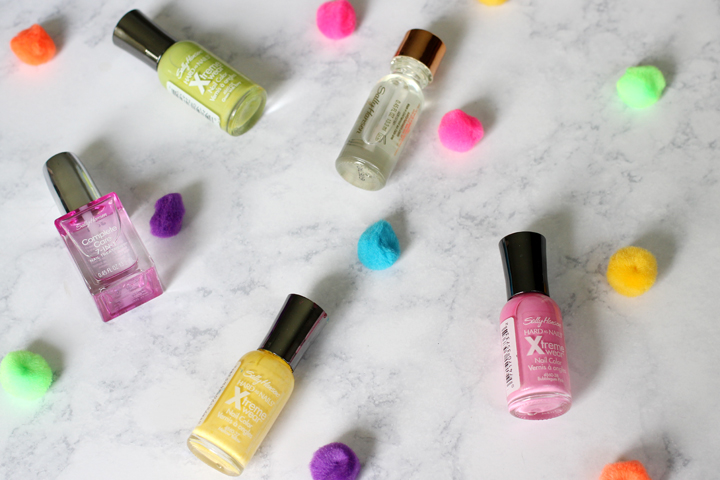
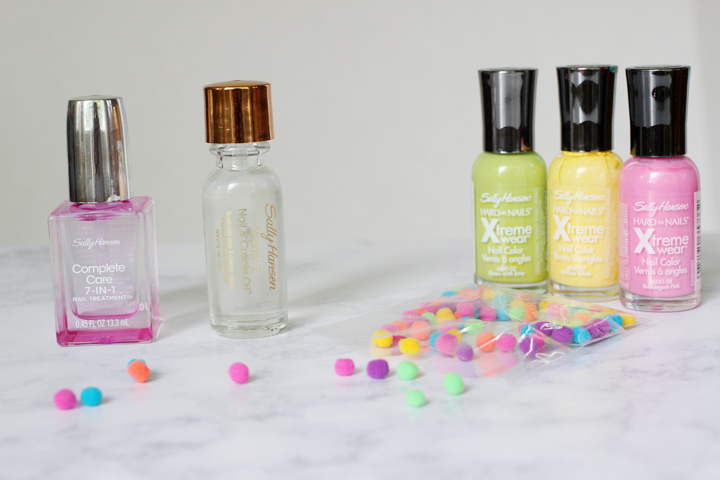
Supplies Needed:
- Sally Hansen Vitamin E Nail & Cuticle Oil
- Sally Hansen Complete Care 7-in-1 Nail Treatment
- Nail Polish (As many colors as you would like)
- Tweezers
- Mini Pom Poms
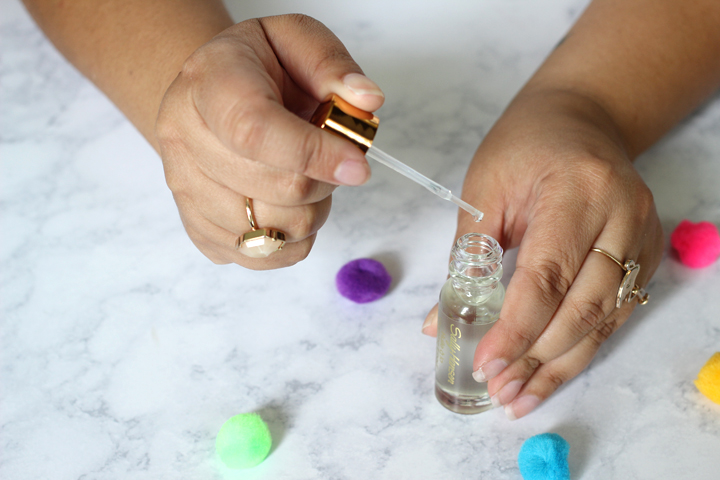
For best results, start of my giving your nails a quick TLC session. Make sure to cut nails and file them to an even length. To give your at home mani a pro look, brush on a layer of the Sally Hansen Vitamin E Nail & Cuticle Oil. This product intensely moisturizes cuticles and cares for dry, brittle nails with Vitamin E oil. Used nightly on nails and cuticles, the Sally Hansen Vitamin E Nail & Cuticle Oil helps to increase circulation to the bed of your nails and will stimulate nail growth. In this case, since you are using it before a manicure, make sure to remove the product thoroughly with soap and water (or nail polish remover, which is my favorite method). You can reapply it again after your nail enamel is completely dry.
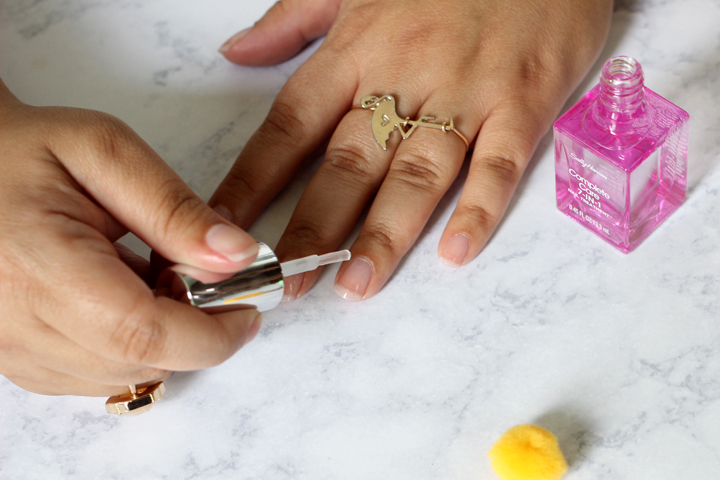
Next, apply a coat of Sally Hansen 7-in-1 Nail Treatment as a base coat. I love this product because it’s an all-in-one base coat, top coat, growth coat, strengthener, ridge-filler, brightener, and ultra-moisturizing nail treatment, so you don’t to buy a ton of products. I put my hands in water a lot, so my nails can get dry and brittle at times. The 7-in-1 Nail Care helps to prevent this and within 3 days I notice that may nails visibly look beautiful and healthy.
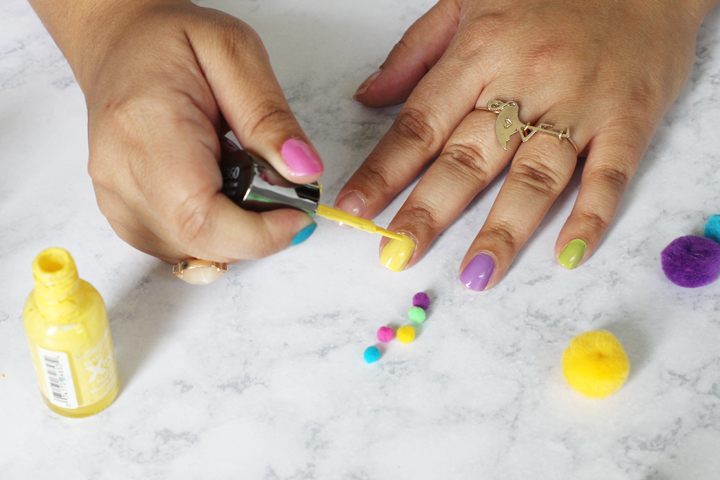
For the next step, let your creative juices flow! Polish your nails one color, or as many colors as you choose. I picked polishes that were similar to the color of my pom poms, but I think white nail polish color look really cool too.
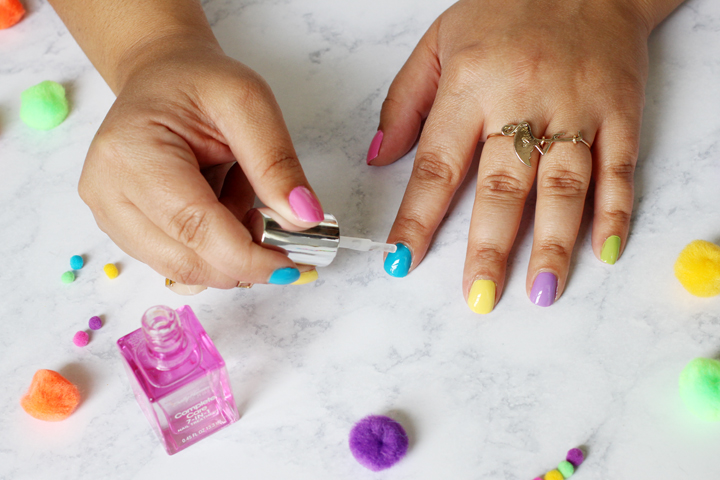
Once your nail polish is dry, apply another coat of the Sally Hansen 7-in-1 Nail Treatment. This will give your nails pure shine for up to 10 days!
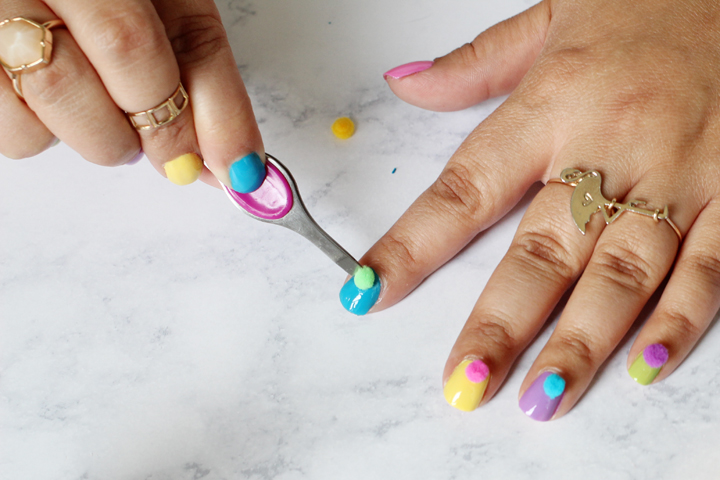
Now, it’s time for the fun part! While your nails are still wet with the Sally Hansen 7-in-1 Nail Treatment, carefully use a pair of tweezers to apply a pom pom on each nail. For a more secure hold, apply a drop of 7-in-1 Nail treatment on the location of your nail where you would like to place the pom pom. Allow your nails to fully dry before touching the pom poms.
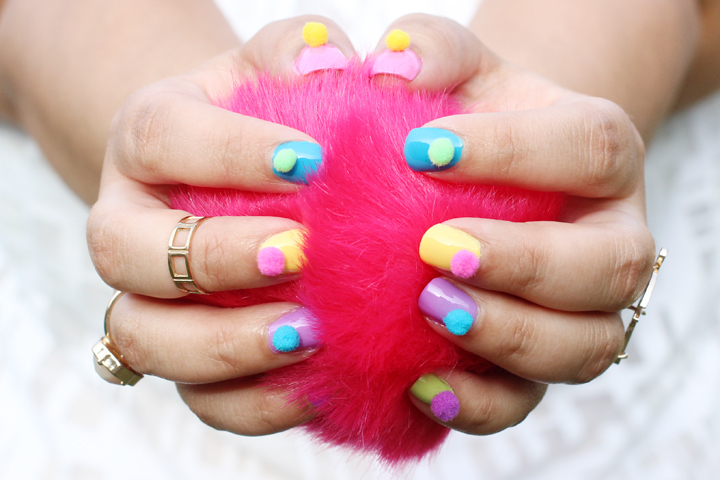


These are so adorable! I definitely have the pom pom fever and these are such a creative way to sport them! [client]
Where did you buy those pom poms? How long this nail design can last ?
Hey there! I got the pom poms from Micheals. This is a fun look for a party some the weekend, but it only lasts for a couple of days. You want to be gentle when washing your hands and it’s a good idea to keep some glue on hand with you in case one pops off.
OK. Thanks for info