I recently moved into a new house and I instantly fell in love with the kitchen area, it was actually my selling point.
I knew I would be spending a lot of time in the future there, cooking and entertaining, so when I started to decorate, I decided to go with a clean modern look with hints of rustic accents.
My kitchen cabinets and appliances are all white, so I popped in color by painting my kitchen a pastel jade shade, but it still looked a bit institutional. While thinking of things that could bring personality to my kitchen, a chalkboard wall came to mind.
A chalkboard is the perfect place to leave notes, write down grocery lists, or even share a recipe while hosting a party.
Rather than just buying a chalkboard or painting a chalkboard square on my wall, I decided to create my own DIY Framed Chalkboard Wall.
This gave me the chance to create a personalized look at very reasonable price.
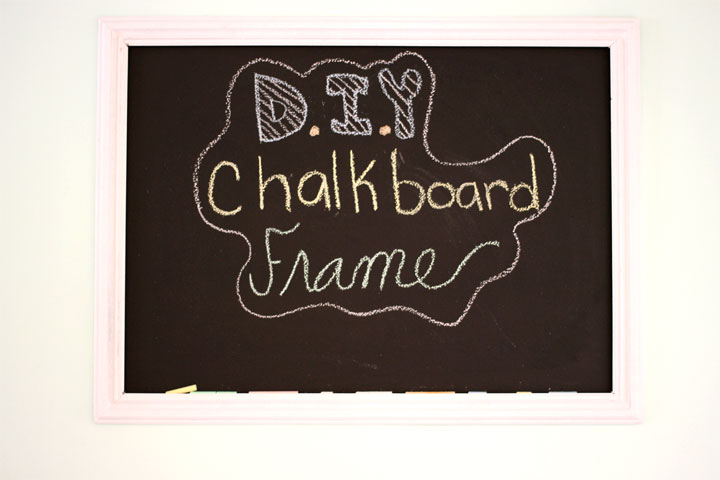
DIY Framed Chalkboard Wall
Materials Needed:
Chalk Paint
Paint Roller
Paint tray
Drop cloth or cardboard
Re-purposed Frame (Check thrift stores and garage sales—I picked mine up for $3!)
Painter’s Tape
Pencil
Nails
Hammer
Measuring Tape
Level
1000 Grit Sandpaper
Spray Paint (Color is optional to paint your frame)
Steps:
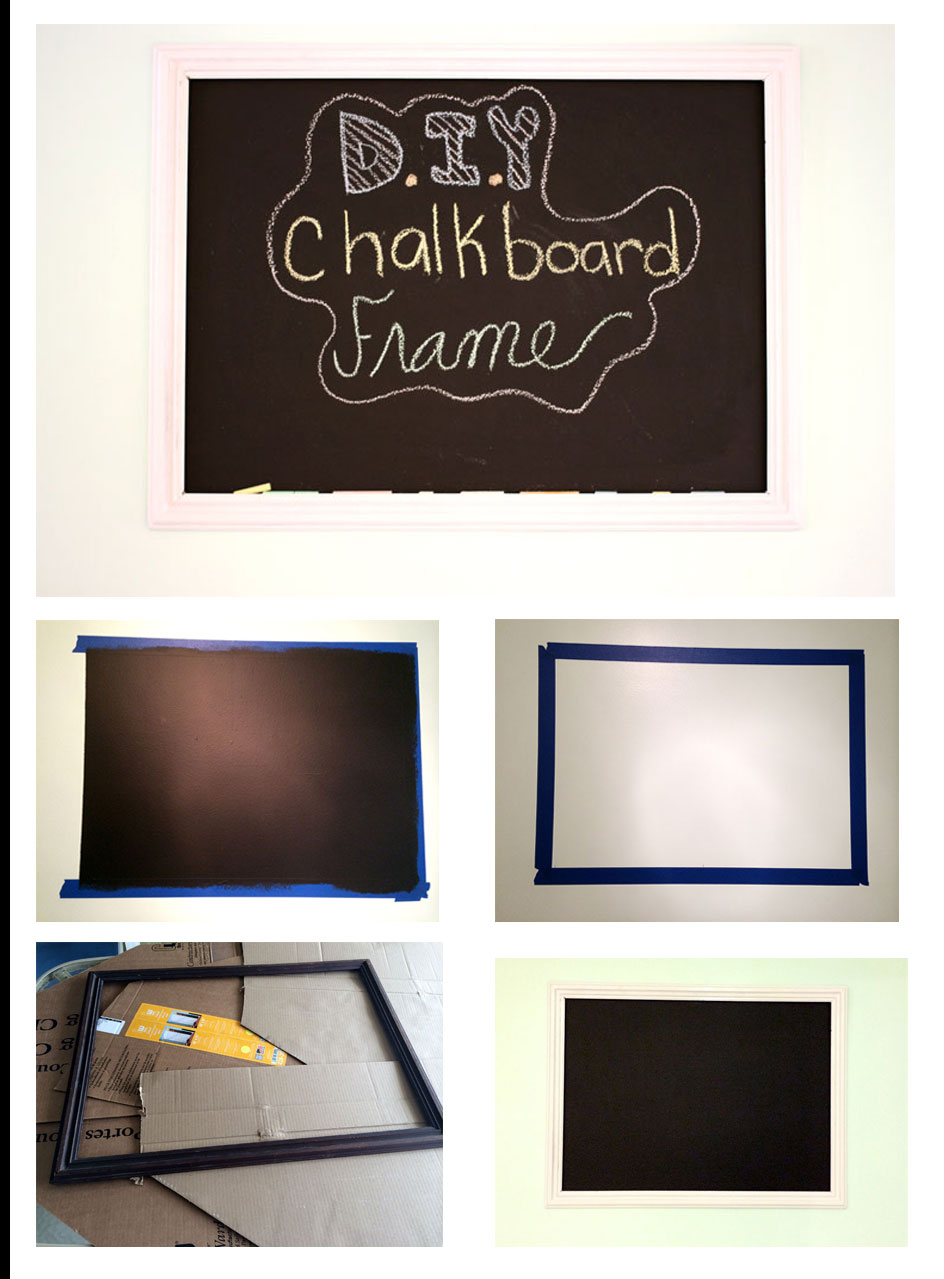
- Using your re-purposed frame a guide, decide how big you would like to make your chalkboard wall. Measure the shape out onto your wall using the measuring tape and a level to make sure your lines are even. Mark your lines with a pencil, and place your frame over the shape to make sure it fits within the margins of the frame.
- Using painter’s tape, place the tape along the edges of the lines you created in pencil to make a frame out of tape. This will protect your wall, while leaving clean edges on your chalkboard wall.
- Place down your drop cloth and pour your chalk paint into the paint tray.
- Following the instructions on the paint can and roll out your paint onto the wall using a roller, while making sure to apply it in fluid even strokes. Repeat this step until you have all of the coats of paint applied to the wall.
While you are waiting for your paint to dry, you can move onto working on the frame. If you already have a frame that you are happy with, skip to step 8.
- Place a drop cloth on a table in a well-ventilated area and place the re-purposed frame on top.
- Using 1000 grit sandpaper, sand down the existing finish on the frame, making sure to get into the corners and crevices. You are sampling roughening up the surface, so a few swipes in each are will do.
- Lighting dust of an dust on your frame, using a damp towel if needed.
- Spray paint your frame. For best results spray is sweeping spurts approximately 6-8 inches away from the surface of the frame. Allow each coat to fully dry before re-spraying. Then, allow the frame to completely dry before moving to the next step.
Once the paint on the wall and on your frame is completely dry, you can more onto the final steps.
- Place your frame over the area of your wall that you have painted.
- Using small nails, hammer the nails into the frame to secure it to the wall.
If you decide to make a frame chalkboard wall, make sure to send me pics of your creation. I would love to see!


I would love to have a chalkboard! My mud room has the perfect spot and I will be making this following your instructions.