I’m a sucker for anything with flamingos on it. When I say anything, I mean ANYTHING! I can’t help it, I love those colorful and quirky creatures. I’m not the only one who loves flamingos, because they seem to be a trending pop culture sensation right now. They’re even hanging around Home Depot!
While shopping for paint with my boyfriend recently, I couldn’t help but notice the Flamingo Duct Tape that was on display. I had to have it, so I quickly dropped it into my cart without even knowing what I was going to do with it. Like a true fashionista I knew I wanted to make something fashionable with the roll of tape, so I decided to make a purse!
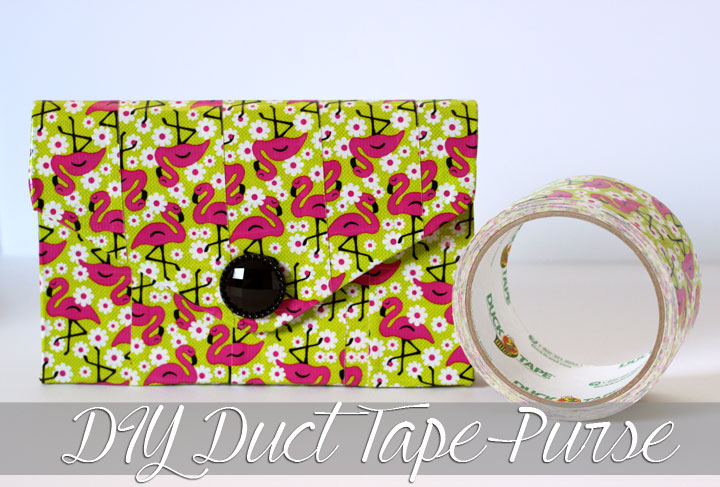
A flamingo DIY duct tape purse is the perfect accessory for summer. It’s water resistant, so it’s a great choice for a laid-back poolside party, while adding a dash of fun to your outfit.
Disclosure: This blog post contains affiliate links, which means that I may earn a small commission if you purchase items from some of the links in this post. This small commission helps me create posts like this one and other future DIY content on Pretty In Pigment.
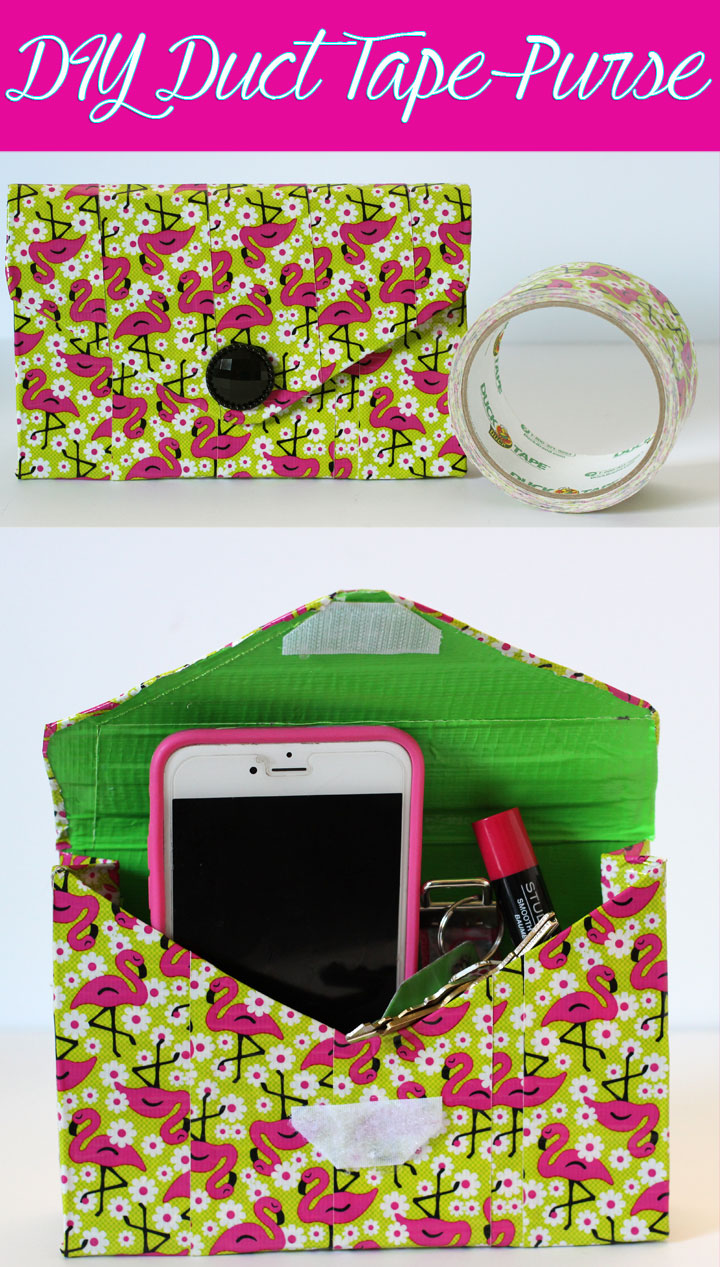
DIY Duct Tape Purse
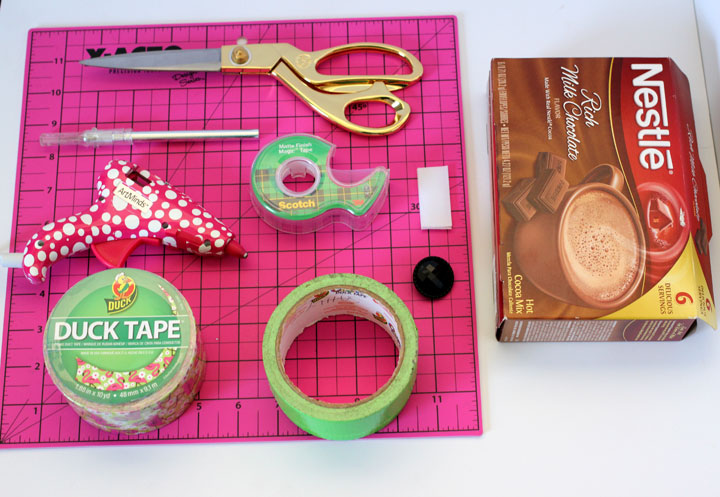
Supplies Needed:
- Scissors
- X-acto Knife
- X-acto Self-Healing Cutting Mat
- Hot Glue Gun
- Scotch Tape
- Marker
- Ruler
- Decorative Button
- Duct Tape in the Print/Color of Your Choice (I’m using the Flamingo Duck Brand Duct Tape)
- Contrasting Color/Print Duct Tape for the Lining (optional)
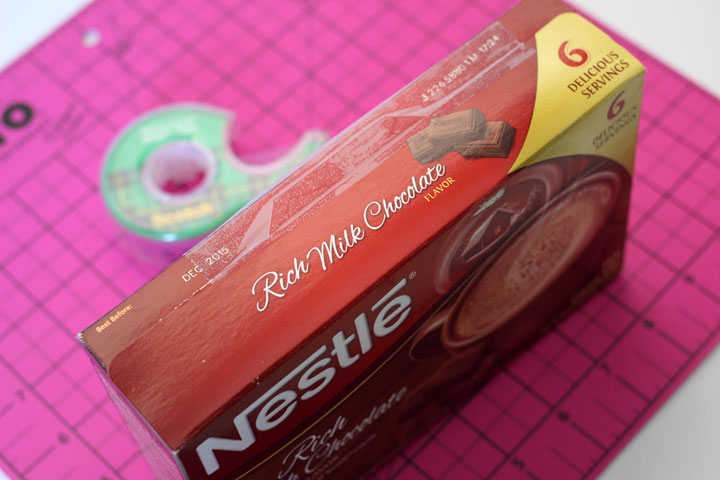
- Cardboard Box in the Size that You Would Like Your Purse to Be (I’m using a hot chocolate box)
DIY Duct Tape Purse Instructions:
1. Start by taping all of the edges of the box with Scotch Tape.
2. Using your marker and ruler, draw an X from corner to corner on the side of your box that you would like to use for the flap for your purse.
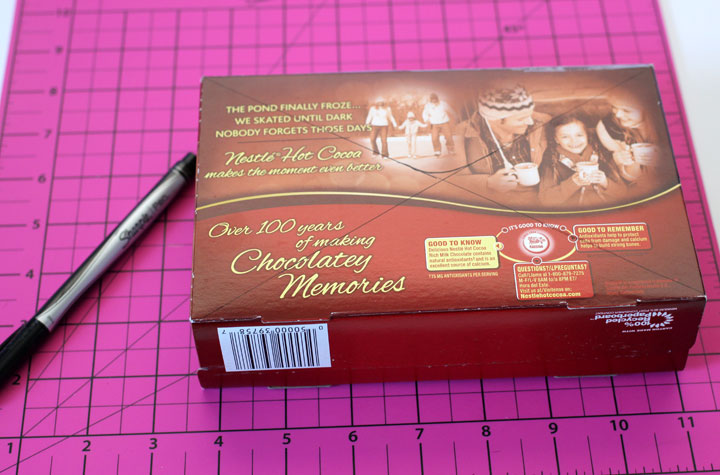
3. Take your marker and manually draw a rounded edge for the flap of your purse, using the V of the X as your guide. This step is optional, but recommended for visual appeal.
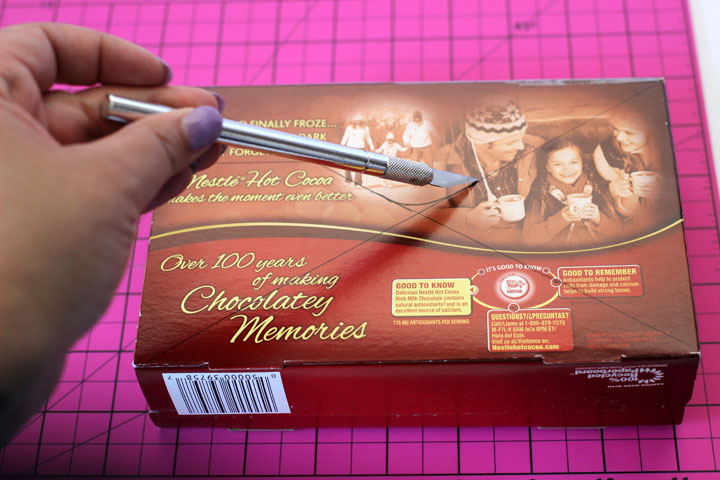
4. Carefully cut along the lines that you marked for the flap of your purse. Once you have cut out your flap, then go ahead and remove any excess cardboard from your edges.
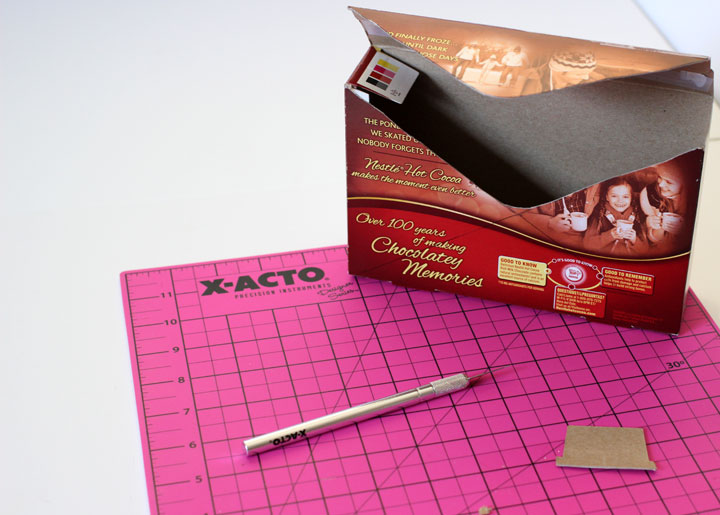
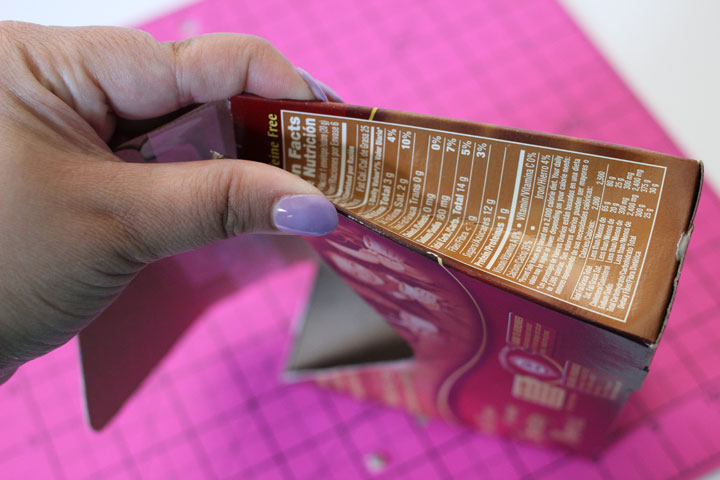
5. Pinch the top corners of your box to create a seam along each side of the box.
6. Fold over the top of your box. You don’t have to secure the flap to the box with tape; I just did this to show how the box should look at this point.

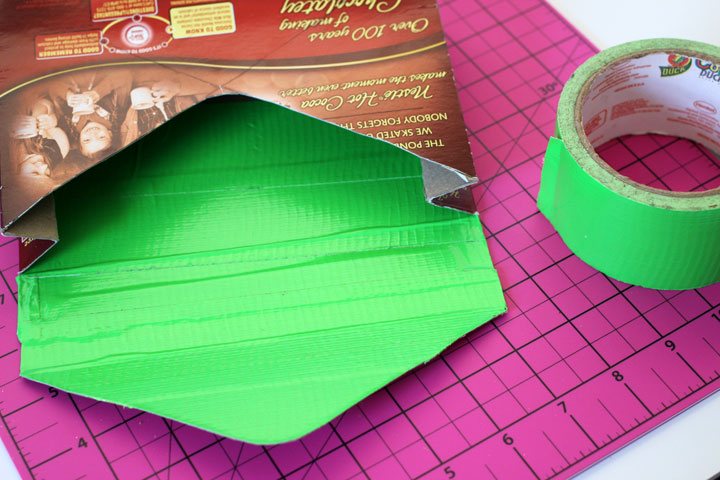
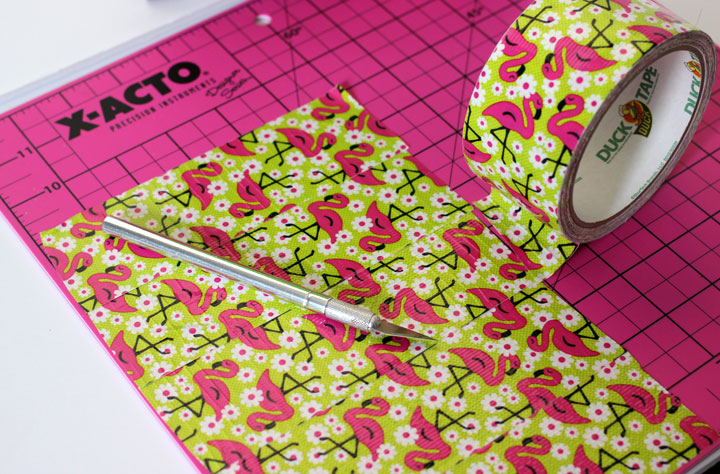
7. Using the tape color/print that you will be using for the lining (interior of the purse), start cutting strips of tape to fit. It works best if you slightly layer the tape over the last piece.
8. For the exterior of the purse, create a sheet of tape that will cover one side of your box, by slightly layering strips of tape over each other, so that you create one secure sheet. Make sure to pay attention to the pattern and that you line up the print the best you can. Then, use the X-acto knife and to cut a sheet to fit your purse. It works best if you measure the size of your box and use the grid on the X-acto mat to cut out the right size sheet. Repeat this step until you have covered all sides of the purse.
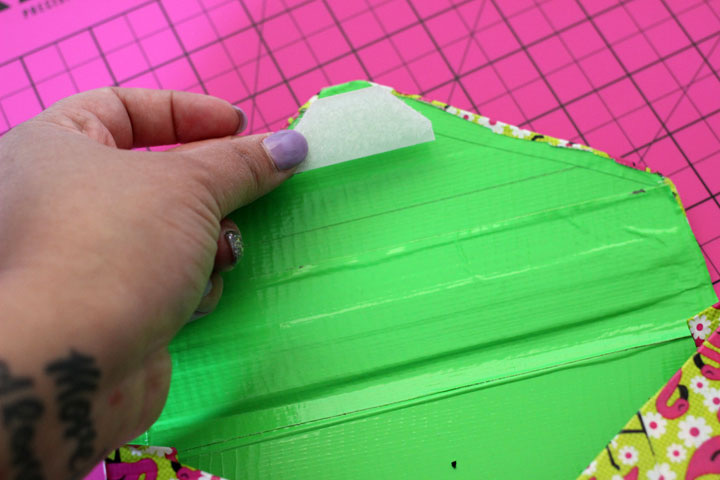
9. Cut a piece of Velcro and attach it under your flap and where the flap will secure to the purse using your hot glue gun.
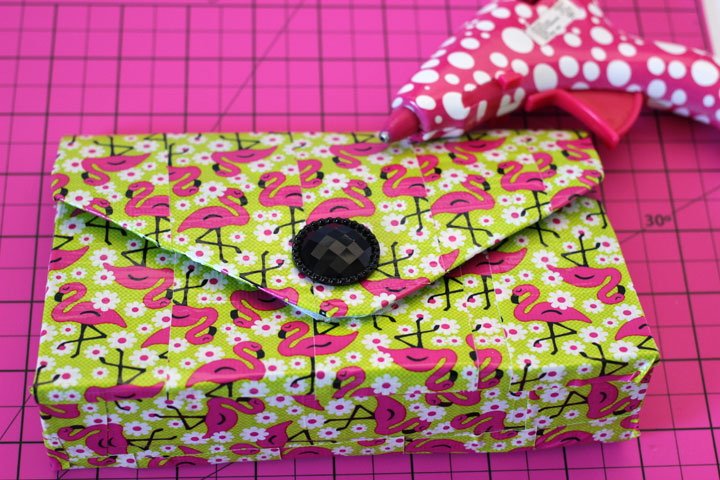
10. Glue the decorative button to the front of your purse.
Congratulations! You just upcycled a cardboard box into a cute little clutch that you can use all summer long! Who would have thought that an Duct Tape purse would be so cheap, cute and easy to make!??!
What do you think of this DIY Duct Tape purse? Are you going to make one? Let me know below!


loveeeee!
this is really awesome and shared 🙂
I really, really like this idea!! I’m going to do it using the Hello Kitty and Neon Pink tape. Thanks for the cool DIY. 🙂
Omg! That would be so cute! My best friend loves Hello Kitty. I would love to see how yours turns out. Please share it with me!
This flamingo purse is so cute. I love it!
Thank you!